 Trezor.io/start
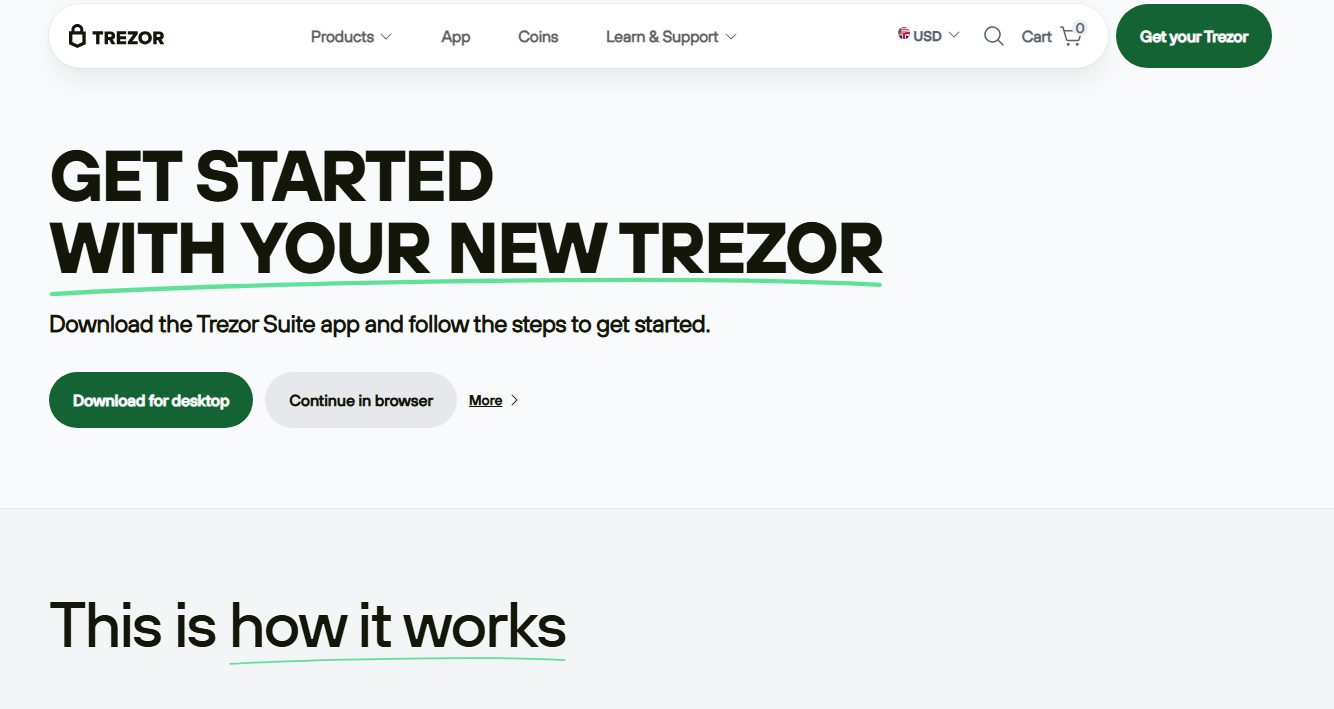
If you’ve purchased a Trezor hardware wallet and want to set it up safely, the best place to begin is Trezor.io/start. This is the official setup page from Trezor, designed to help new users install the correct software, update their device, and create a secure crypto wallet. If you are new to hardware wallets, don’t worry — the process is simple when you follow the right steps. This article explains everything you need to know in an easy, beginner-friendly way.
What Is Trezor.io/start?
Trezor.io/start is the official onboarding page for all Trezor hardware wallet models, including:
Trezor Model One
Trezor Model T
Trezor Safe 3
This page guides you step-by-step through the initial setup. It provides links for downloading Trezor Suite, the software needed to manage your crypto, and offers clear instructions for updating firmware, creating your wallet, and securing your recovery seed.
In short, Trezor.io/start is the safe and trusted gateway to making your hardware wallet fully functional.
Why You Must Use the Official Setup Page
Hardware wallets give you complete control over your cryptocurrency. This is good for security, but it also means you must follow proper setup steps to avoid mistakes.
Visiting Trezor.io/start ensures:
You avoid fake or harmful websites
You download only the official software
You get the correct setup instructions
You follow the safest practices for wallet creation
Because scammers often create look-alike pages, always double-check the spelling of the URL: Trezor.io/start — no extra letters, no numbers, no variations.
Step-by-Step Setup Guide Using Trezor.io/start
Below is a simple walkthrough of how to set up your Trezor hardware wallet.
1. Go to Trezor.io/start
Open your browser and visit the official page. You will see an option to choose your Trezor model. Select the exact device you have. This ensures you see the correct instructions for your specific wallet.
2. Download Trezor Suite
The next step is to download Trezor Suite, the official desktop app used to manage your wallet. With Trezor Suite, you can:
View your crypto balances
Send and receive coins
Install updates
Adjust security settings
Download the version that matches your operating system — Windows, macOS, or Linux — and install it on your computer.
3. Connect Your Trezor Device
Use the USB cable that came with your Trezor. Once connected, Trezor Suite will automatically detect the device.
If your wallet is brand new, it may not have firmware installed yet. If so, the app will prompt you to install the latest version.
4. Install or Update Firmware
Firmware is the core software that runs inside your Trezor. Installing or updating firmware ensures:
Your device has the latest security protections
Bugs are fixed
New features are supported
Click “Install firmware” or “Update firmware” and wait a few moments. Do not disconnect your device during this process.
5. Create a New Wallet
After the firmware is installed, Trezor Suite will ask whether you want to create a new wallet or recover an existing wallet.
If you’re using Trezor for the first time, choose Create new wallet.
6. Write Down Your Recovery Seed
This is the most important step in the entire setup.
Trezor will display a series of words — usually 12, 18, or 24 words. This is your recovery seed, also known as a seed phrase.
This seed is the master key to your crypto wallet. Anyone who has these words can access your funds.
Follow these safety rules:
Write the words on paper
Do not take a photo
Do not save it on your phone
Do not type it into online documents
Do not share it with anyone
Store the written seed phrase in a private, secure place. You can also create multiple written copies and store them in separate safe locations.
7. Set a Strong PIN
Next, Trezor Suite will guide you to set up a PIN for your device. This protects your wallet if someone physically gets hold of your Trezor.
Choose a PIN that is hard to guess — not your birthday, phone number, or repeating numbers.
8. Your Trezor Wallet Is Ready
After completing these steps, your Trezor wallet is fully initialized. Trezor Suite will take you to your dashboard, where you can:
Add coins like Bitcoin, Ethereum, and more
Receive crypto using your Trezor addresses
Send crypto securely
Track your portfolio value
Enable optional features such as passphrases
Everything you do inside Trezor Suite is protected by your hardware wallet.
Tips for Staying Safe with Trezor
To keep your crypto secure, follow these simple recommendations:
Always download updates from official Trezor sources
Never enter your recovery seed on any website
Ignore anyone claiming to be “Trezor support” asking for your seed
Keep your Trezor Suite and device firmware updated
Store your seed phrase offline and never share it
Buy Trezor devices only from official or authorized sellers
Your security improves greatly when you follow these practices consistently.
Final Thoughts
Trezor.io/start is the trusted and official place to begin using your Trezor hardware wallet. The setup process is simple: download Trezor Suite, install firmware, create your wallet, write down your recovery seed, and set your PIN. Within a few minutes, you’ll have one of the safest and most reliable methods of storing cryptocurrency.